Which template fits your room
Choose a seating chart template by your room and class size first, then by teaching style.
| If your class… | Start with |
|---|---|
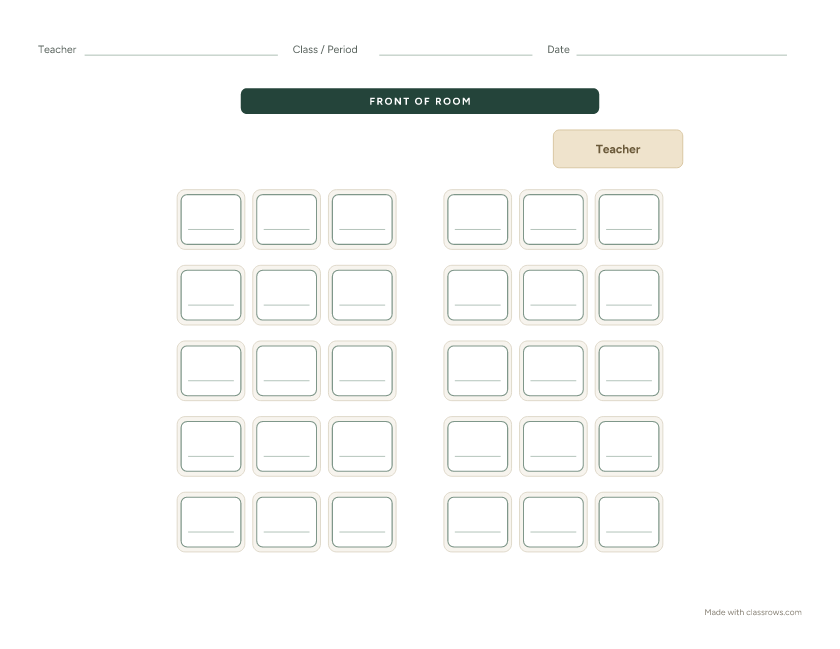
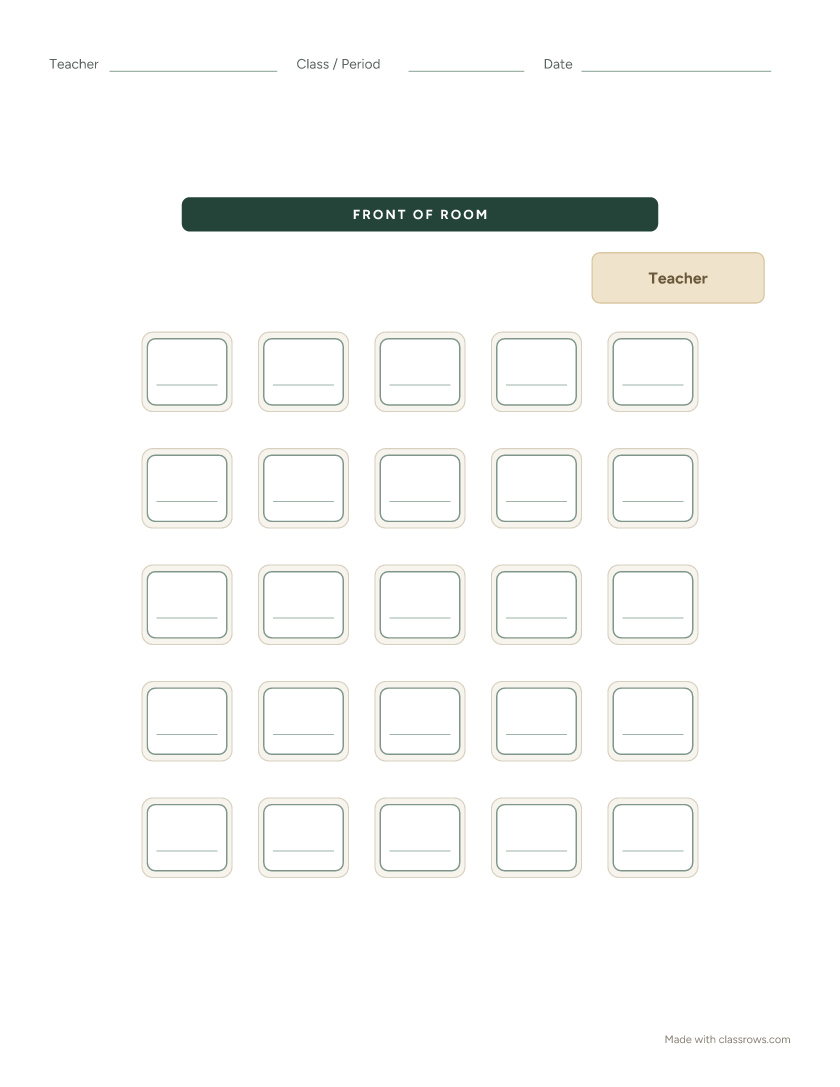
| Has 28 or more students, in a standard rectangular room | Rows: fits the most desks in the least space |
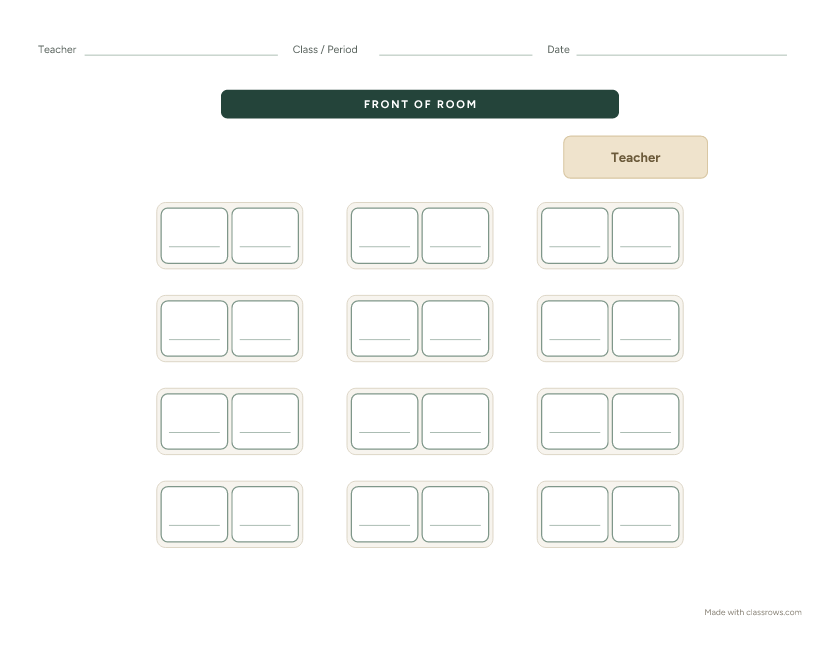
| Has 20–28 students and does regular partner work | Pairs |
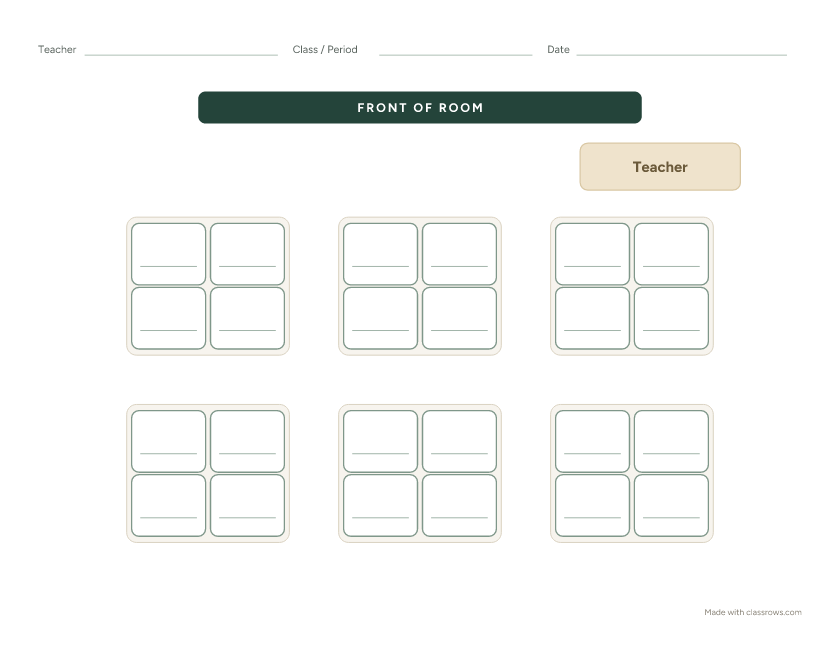
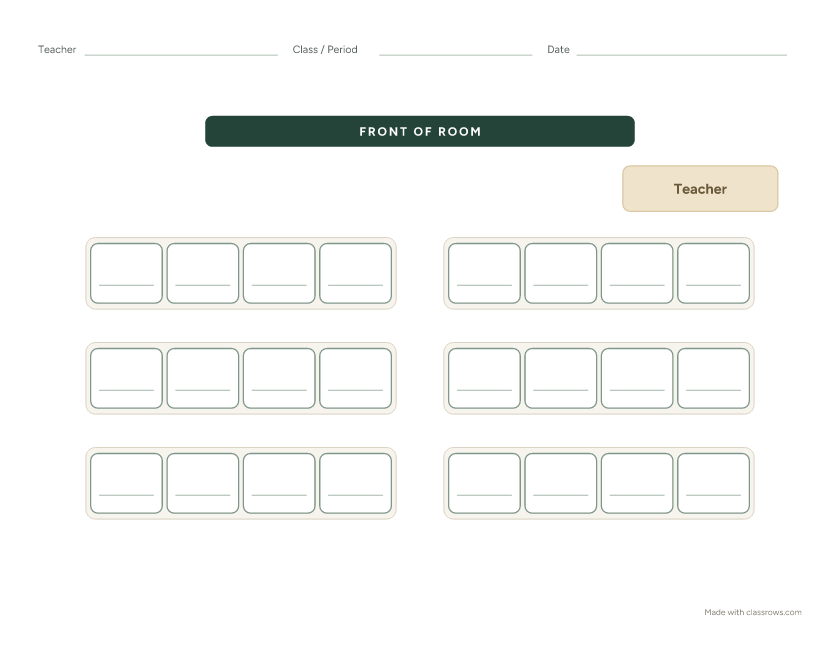
| Has 16–28 students and sits at tables, not desks | Pods of 4 |
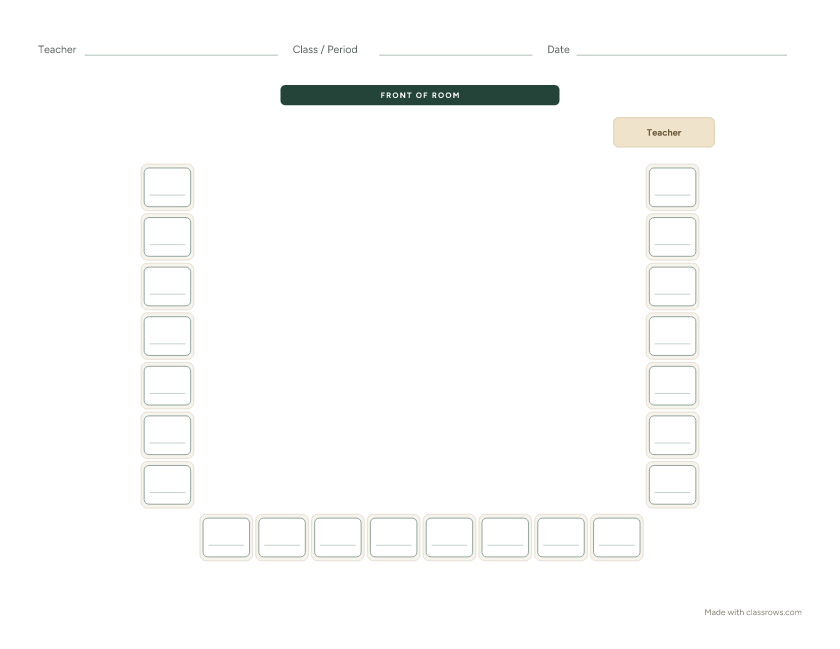
| Has fewer students in a wide room | Horseshoe: needs open floor space in the middle |
| Is taking a test this week | Testing: plan for extra space between desks |
| Meets in a lab or computer room with fixed benches | Lab benches |
If your room doesn't match any template exactly, for example a different number of desks or an L-shaped room, open the closest one online and adjust the rows and desks, then drag desks to match. You can print the result as a blank chart too: just print before adding students.
How to use a blank seating chart template
- Pick the seating chart template closest to your room and download it on Letter or A4 paper.
- Fill in the header: class name or period, and the date. A chart without a date is the one that ends up in the sub folder three months too late.
- Mark the front of the room. Every template shows "Front of room." If your board is on a side wall, turn the page so it matches.
- Write names in pencil first. Seating plans rarely survive the first week unchanged.
- Make it reusable. Slide the printed chart into a sheet protector and write names with a dry-erase marker. You can reshuffle without printing a new copy.
- Make two copies: one for your clipboard and one for your substitute folder.
When writing and erasing names gets old, open the same layout online, paste your class list, and print a typed chart in under a minute.